The Ultimate Guide to Achieving Stunning Lashes with a DIY Eyelash Kit at Home
 In recent years, the demand for beauty enhancements, particularly for stunning eyelashes, has surged dramatically. According to a report by Market Research Future, the eyelash enhancement market is projected to reach over $1 billion by 2025, driven by an increasing preference for more natural and customizable beauty options. This trend has led to a rise in popularity of DIY solutions, allowing individuals to achieve salon-quality results from the comfort of their homes. A DIY Eyelash Kit empowers beauty enthusiasts to create their own stunning lashes, eliminating the need for expensive salon visits and the hassle of complicated procedures. With the right guidance and tools, anyone can unlock the secrets to achieving long, voluminous lashes that enhance their overall appearance. This ultimate guide will provide you with the essential tips and techniques to make the most out of your DIY Eyelash Kit, ensuring you achieve the breathtaking results you desire.
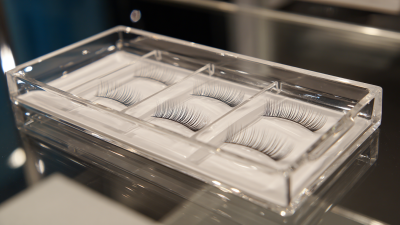
The Essential Tools for Your DIY Eyelash Kit at Home
Creating stunning lashes at home can be both fun and rewarding with the right DIY eyelash kit. To get started, you’ll need a few essential tools that will ensure the process is both effective and enjoyable. First and foremost, a quality pair of eyelash tweezers is vital for precise application. Look for a pair that is angled for easy maneuverability, allowing you to place your lashes exactly where you want them.
Another must-have tool is a reliable adhesive specifically designed for eyelashes. Different formulas offer various drying times and hold strengths, so it’s beneficial to experiment with a few to find your perfect match. Additionally, having a small scissors on hand can help you customize your lashes by trimming them to fit your eye shape better.
**Tips:**
- Before application, ensure your eyelashes are clean and free of any makeup residue for better adhesion.
- Test your adhesive on a small area of skin to avoid any allergic reactions.
- Practice makes perfect! Don’t be discouraged if your first attempt isn’t flawless; with a little patience, you’ll soon achieve the luscious lashes you desire.

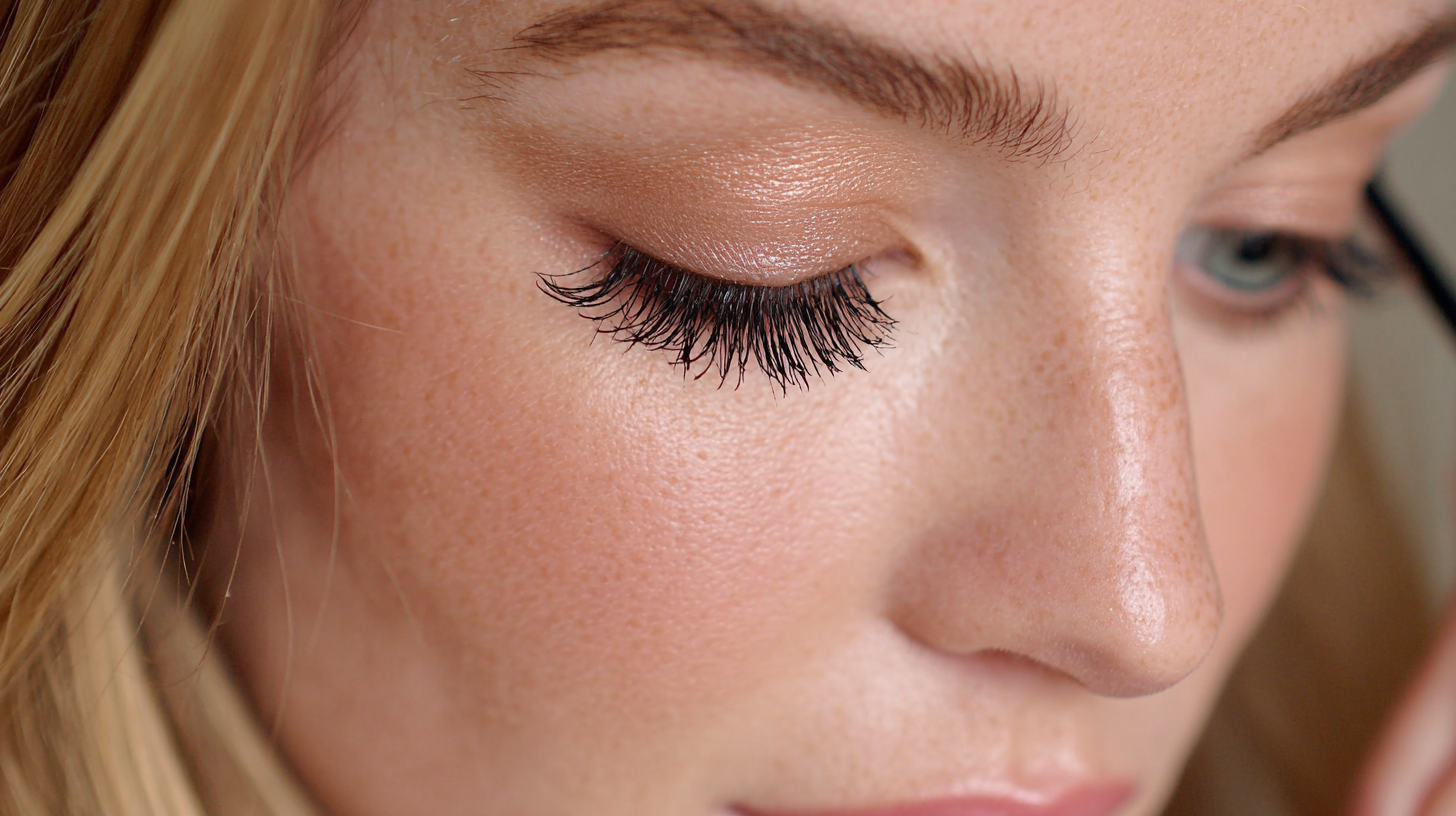
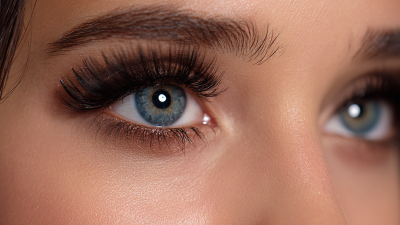
Step-by-Step Instructions for Perfectly Applying Eyelashes
Achieving perfectly applied eyelashes at home can transform your look and enhance your confidence. According to the Professional Beauty Association, nearly 40% of women opt for DIY beauty solutions to save cost and time, demonstrating a growing trend in at-home beauty treatments. With the right DIY eyelash kit and a few simple steps, you can achieve stunning lashes that rival professional results.
To begin, start by ensuring your natural lashes are clean and free of any makeup or oils. Apply a thin layer of adhesive from your DIY kit to the base of the false eyelashes. Allow it to sit for about 30 seconds or until it becomes tacky; this ensures better adhesion. Using a pair of tweezers, gently place the lash strip as close to your natural lash line as possible. A report from Statista shows that over 60% of consumers prefer wearing false eyelashes for everyday looks, indicating the popularity and effectiveness of this beauty enhancement.
Once the lashes are applied, use a lash curler to blend your natural lashes with the false ones, followed by a coat of mascara to volumize and define. This technique not only adds to the overall cohesiveness of your look but also ensures that your lashes last longer. According to the 2023 Beauty Trends Report, 55% of makeup users find that properly applied false eyelashes enhance their overall makeup experience, solidifying their status as a staple in cosmetic routines. By following these straightforward steps, you can master the art of eyelash application right from the comfort of your home.
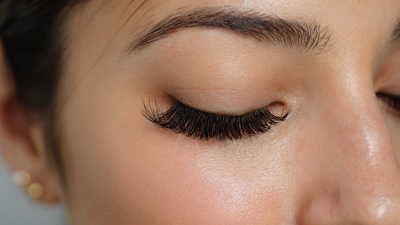
Top 5 Tips for Maintaining and Caring for Your DIY Lashes
Maintaining and caring for your DIY lashes is crucial for achieving long-lasting wear and stunning results. First and foremost, always ensure your lashes are clean before applying any products. Use a gentle makeup remover or a specialized lash cleanser to eliminate any residue, which helps prevent irritation and prolongs the lifespan of your lashes. Additionally, consider using a sealant or coat designed specifically for eyelash extensions to protect against moisture and keep your lashes looking pristine.
Another vital tip is to avoid excessive touching or rubbing of the eye area. This can lead to premature wear and may even damage both your natural lashes and the extensions. Instead, use a spoolie brush to gently reshape and fluff your lashes daily, maintaining their beautiful appearance without unnecessary stress. Lastly, be mindful of the products you use near your eyes; oil-based makeup or skincare products can weaken the adhesive used in your DIY lash kit. By following these essential tips, you can ensure your DIY lashes remain stunning and vibrant for an extended period.
The Ultimate Guide to Achieving Stunning Lashes with a DIY Eyelash Kit at Home - Top 5 Tips for Maintaining and Caring for Your DIY Lashes
| Tip |
Description |
Frequency |
| Clean Your Lashes |
Gently cleanse your lashes with a suitable remover to avoid product buildup. |
Every use |
| Use a Lash Serum |
Apply a nourishing serum to promote healthy lash growth. |
Daily |
| Store in a Cool Place |
Keep your DIY eyelash kit in a cool, dry area to maintain its quality. |
Always |
| Avoid Water Exposure |
Minimize contact with water to prolong the lifespan of your lashes. |
After application |
| Reapply as Needed |
Replace your lashes if they become damaged or lose their shape. |
Every few weeks |
Common Mistakes to Avoid When Using a DIY Eyelash Kit
When using a DIY eyelash kit at home, one of the most common mistakes is neglecting to perform a patch test before application. This step is crucial to identify any potential allergies or sensitivities to the adhesive or other products in the kit. Skipping this precaution can lead to irritation, redness, or even allergic reactions, jeopardizing your desired lash look. Taking a few moments to conduct a patch test can save you from discomfort and ensure a smoother application process.
Another frequent error is applying too much adhesive, which not only can weigh down your lashes but also results in clumps that make them look unnatural. It's essential to use just the right amount; a thin layer of adhesive is usually sufficient to ensure proper adherence without compromising the appearance of your lashes. Additionally, many users overlook the importance of proper timing when attaching the lashes. Waiting too long after applying the adhesive can cause it to dry out, making it impossible for the lashes to stick effectively. Always follow the recommended timing for the best results and a flawless finish.
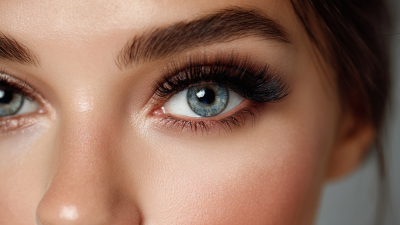
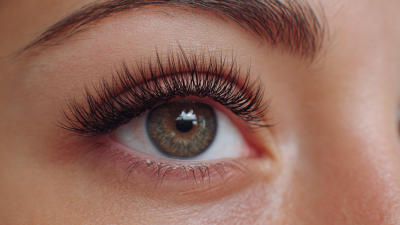
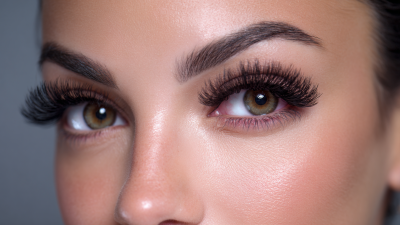
How to Choose the Right Eyelash Style for Your Eye Shape
Choosing the right eyelash style can dramatically enhance your overall look, but it’s essential to consider your eye shape. For almond-shaped eyes, nearly any lash style works beautifully. You can play with length and volume, opting for dramatic styles that add flair without overwhelming your natural features. If your eyes are round, look for lashes that are longer in the center and shorter on the corners to elongate and balance their shape.
For hooded eyes, select lashes that are lightweight and wispy to avoid weighing down your eyelids. A style that adds lift at the outer corners can create the illusion of more depth. If your eyes are downturned, choose longer lashes for the outer corners to help lift your eyelids and direct attention upward.
**Tips:** When selecting lashes, consider the band thickness; a thinner band often provides a more natural look. Additionally, always test your chosen lashes before applying glue, as adjustments may be necessary for a comfortable fit. Finally, don’t shy away from trying different styles; experimenting can help you find the perfect match for your unique eye shape.